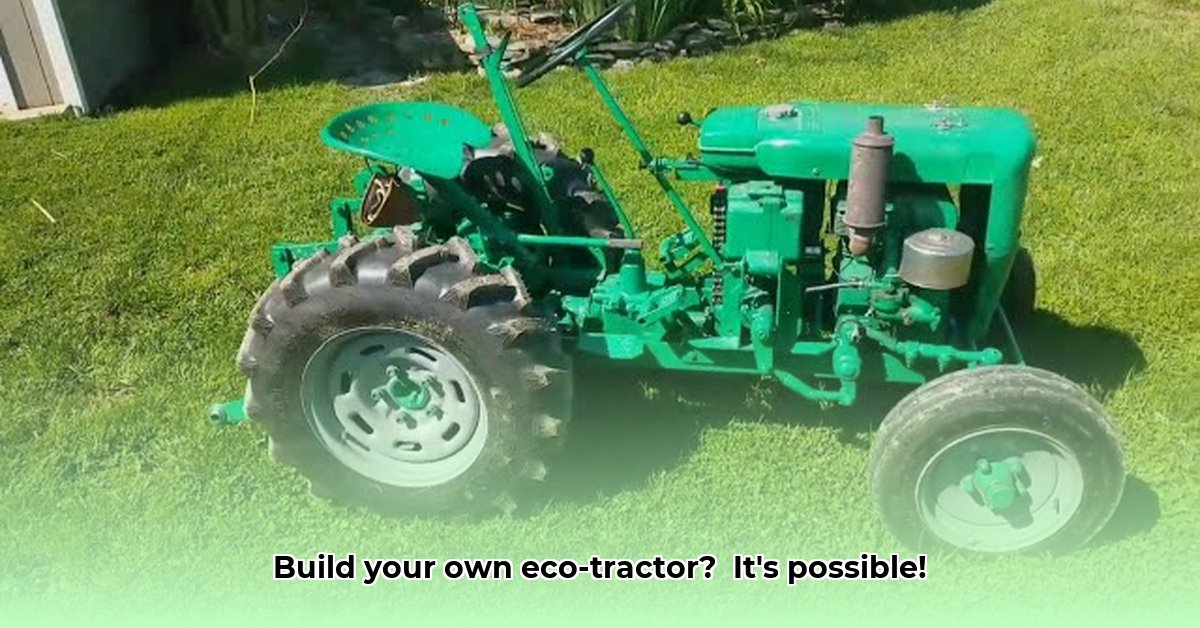
Building your own tractor might sound daunting, but with careful planning and a methodical approach, it's achievable and incredibly rewarding. This guide provides a step-by-step process for constructing a sustainable, customized tractor perfectly suited to your farm's needs. Remember, safety is paramount throughout this project. For more inspiration on building your own tractor, check out these US-made tractor designs.
Designing Your Eco-Friendly Tractor: From Sketch to Blueprint
Before you begin gathering parts, meticulously plan your tractor's design. What tasks will it perform? This dictates its size, power, and essential features. Prioritize fuel efficiency from the outset; consider exploring alternative fuels like biodiesel for a truly eco-friendly approach. Will you need a three-point hitch for implements like a plow, or a power take-off (PTO) to drive other equipment? Start with simple sketches, then gradually refine them into detailed blueprints. A well-defined plan is your roadmap to success. Don't aim for perfection; aim for a functional, workable design.
Part-Finding Prowess: Sourcing Sustainable Components
This stage requires ingenuity and resourcefulness. Explore salvage yards, online auctions, and even local farmers and mechanics for cost-effective parts. Repurposing and recycling materials not only saves money but also significantly reduces your environmental footprint, aligning perfectly with sustainable agriculture principles. Prioritize quality: while saving money is important, don't compromise on the durability and reliability of essential components like the engine and transmission.
Building the Frame: The Foundation of Your Tractor
A robust frame is the backbone of your tractor. Recycled steel is a classic choice, offering strength and durability. However, consider exploring sustainable alternatives such as sustainably-sourced hardwood for a lighter build (though this requires specific joinery expertise). Precise measurements and strong welds (or professional welding assistance) are vital for a stable and safe machine. A misaligned frame can lead to handling problems.
Step 1: Cut and Prepare: Carefully cut and prepare your chosen frame material according to your design blueprints. Accuracy is key here; measure twice and cut once!
Step 2: Welding (or Assembly): If using steel, weld the frame components together using appropriate techniques for ensuring strong, aligned joints. For a wooden frame, precise joinery techniques will be necessary for strength and durability.
Step 3: Frame Inspection: Thoroughly inspect the completed frame for any flaws or weak points. Reinforce as needed to guarantee structural integrity.
Selecting Your Engine: The Heart of the Machine
Engine selection significantly impacts fuel efficiency and emissions. Prioritize fuel-efficient models; reducing fuel consumption benefits both your wallet and the environment. Consider used engines to save costs, but carefully inspect them for wear and tear. Proper engine mounting is critical to minimize vibrations and potential damage.
Transmission and Drivetrain: Power Transfer
The transmission links engine power to the wheels. A robust drivetrain is essential for navigating challenging terrain. Used transmissions can be a cost-effective option, but ensure compatibility with your chosen engine and overall design.
Hydraulics: Enhancing Functionality (Optional)
A hydraulic system significantly enhances the tractor's versatility, allowing you to operate attachments such as a tiller or loader. Simple hydraulic systems are manageable for DIY projects, and repurposed components can reduce environmental impact. After installation, meticulously check for leaks.
Wheels and Tires: Ground Engagement
Choosing appropriate tires is crucial for optimal traction and minimized soil compaction—critical for sustainable farming. Tire size must be correctly matched to your tractor and the soil type on your farm.
Building Attachments: Adding Versatility
Many attachments can be built from scratch, repurposed from existing equipment, or sourced second-hand. This allows customization based on your farm’s tasks. Repurposing materials reduces waste and lowers costs.
Testing and Refinement: Fine-Tuning Your Tractor
Before using your tractor for farm work, conduct a thorough test run. Check all systems, including steering, braking, and hydraulics (if applicable). This is your opportunity to identify and rectify any issues and make adjustments to optimize performance.
Weighing It All Up: Advantages and Disadvantages
| Advantages | Disadvantages |
|---|---|
| Potential for significant cost savings | Time-intensive project |
| Highly customizable to specific farming needs | Requires mechanical aptitude and knowledge |
| Environmentally beneficial; uses recycled parts | Sourcing parts may be challenging; compatibility issues possible |
| Immense sense of accomplishment | Higher risk of project failure than buying a new tractor |
| Potential for greater fuel efficiency | May not be financially viable for all farmers |
Building your own tractor is a challenging yet rewarding endeavor. This guide provides a framework for success, but remember that careful planning, resourcefulness, and patience are key ingredients in creating your own sustainable farm machine. Embrace the learning process and enjoy the journey!